How To Install new background wallpaper on your device
For Windows 11
- Click the on-screen Windows button or press the Windows button on your keyboard.
- Click Settings.
- Go to Personalization.
- Choose Background.
- Select an already available image or click Browse to search for an image you've saved to your PC.
For Windows 10 / 11
You can select “Personalization” in the context menu. The settings window will open. Settings> Personalization> Background.
In any case, you will find yourself in the same place. To select another image stored on your PC, select “Image” or click “Browse”.
For Windows Vista or Windows 7
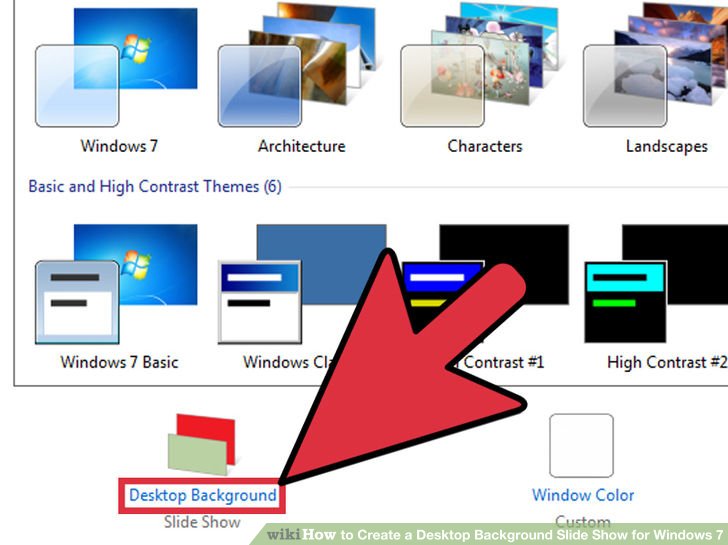
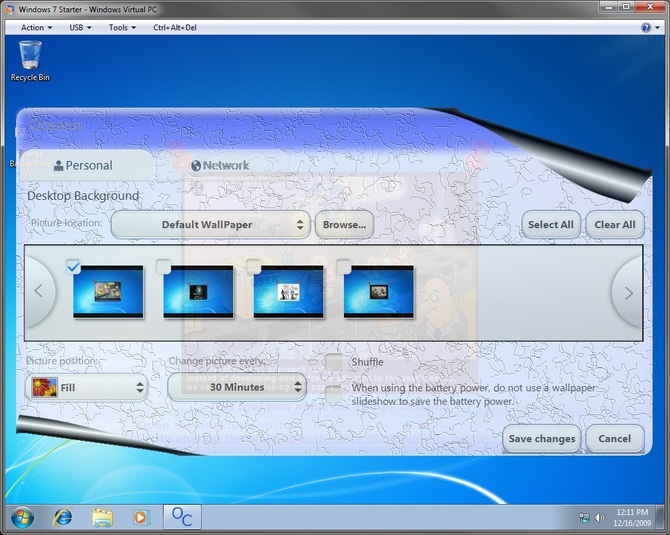
Right-click on the desktop, select "Personalization", click on "Desktop Background" and select the menu you want (the "Browse" buttons or select an image in the viewer). Click OK when done.
For Windows XP
Right-click on an empty area on the desktop, select "Properties" in the context menu, select the "Desktop" tab and select an image from the ones listed in the scroll window.
For Mac OS X
- From a Finder window or your desktop, locate the image file that you want to use.
- Control-click (or right-click) the file, then choose Set Desktop Picture from the shortcut menu. If you're using multiple displays, this changes the wallpaper of your primary display only.
- If you don't see Set Desktop Picture in the shortcut menu, you should see a sub-menu named Services instead. Choose Set Desktop Picture from there.
For Android
- Tap and hold the home screen.
- Tap the wallpapers icon on the bottom left of your screen.
- Choose from the collections of wallpapers included with your phone, or from your photos.
- Tap the wallpaper you want to use.
- Adjust the positioning and size and then tap Set as wallpaper on the upper left corner of your screen.
- Choose whether you want to set the wallpaper for your Home screen, Lock screen or both Home and lock screen.
For iOS
- Launch the Settings app from your iPhone or iPad Home screen.
- Tap on Wallpaper.
- Tap on Choose a New Wallpaper. You can choose from Apple's stock imagery, or your own library.
- Tap the type of wallpaper you would like to use
- Select your new wallpaper to enter Preview mode.
- Tap Set.
